Friday, February 18, 2011

Button, Button


Here's a card I made for one of my long distance down line members. I plugged a LOT of accessories on to this card, just playing around with the "new toys".

It all started with fabric and the new Bigz L die "Fun Flowers". I ironed adhesive backing to the fabric and ran it thru Mr. Big.

For the background, I used Newsprint DSP, stamped on it and grunged it up a bit.

I ironed the fabric flower on to the DSP, then glued it all to Crumb Cake CS.

I added some of those fun new pompoms in Melon Mambo, and one of the HUGE buttons from Sweet Stitches Designer Big Buttons. I threaded some linen thread thru the button before I adhered it to the CS.

I also added one of the Fabric Designer Brads - these are very lovely. They have satin like fabrics on them and blend really well with the Sew Sweet DSP and fabrics we're currently carrying.

I have some other cards I sent to the long distance down line, which I'll share at a later time.

In the meantime, thanks for stopping by!

Thursday, February 17, 2011

Candy Wrappers!

Isn't this cute?

It's made with the Candy Wrapper Bigz L die (Item # 120890 $32.95) which was in the Holiday mini.

I made this one from the Newsprint DSP that's in the Occasions mini and decorated it with hearts punched from the Glimmer Paper (the BOMB!!), also in the Occasions mini. I also stamped the string of hearts that's in the Valentine Defined set from the same catalog before I folded it into its shape.

Even though the die was introduced in the Holiday mini, it is still available to be purchased now. This is one of the carry over items we frequently have.

Most of the time, when you see a punch or a Big Shot die in a mini-catalog, you can be assured it will be available for purchase after the mini expires.

There's a lot of money involved in designing and manufacturing a punch or a die, so it makes sense for it to be available for quite some time after it's introduced.

I used this die a LOT for Halloween, since we were first introduced to it around that time.

I make treats for my Starbucks barristas for holidays - they give me excellent service every day, so I like to let them know that I appreciate it!

Here's a photo of my hand and the die, just so you can have some idea of its size - it's not very big!


This is one of the Halloween boxes I made.

For this one I used the Platinum Shimmer Paint and painted right on the spider web stamp. The paint is water based, so washes right off, once you're done!

And here's a tray full of them... It makes an attractive display, doesn't it?


I've also decorated them for Christmas, Thanksgiving, wedding favors, and the one at the top, for Valentine's day. I'm sure I'll be able to come up with something for Easter, as well - just haven't gotten around to that holiday yet!

Quite a versatile piece of equipment, wouldn't you say? And we LIKE versatile, don't we!!!?

Would YOU like one of these dies? All you have to do is call or email me to order it! And, if you add another item for at least $18 to your order, you'll receive a SAB item of your choice - for FREE!

I'm sitting by the phone awaiting your call!


Tuesday, February 15, 2011

Nixie's Fotos

I have a virtual friend (hey, girlfriend) I've met thru Farm Town. We chat for hours (and harvest each other's farms while doing that) and we know a lot about each other - but we've never met in person.

I hope we can remedy that one of these days!

A while back, I asked her to send me some of her favorite photos, and I proceeded to turn them into a litte scrap book for her.

It's made with -- are you ready? -- toilet tissue rolls!

I've made these and posted photos before, but it's been probably a year since I last did any.

Nixie loved it! And, as I'd hoped, it's small enough for her to carry it in her purse...

Wanna see?


Here's the outside of it.

It has 4 t.p. rolls total. I print my photos out 2" x 3" and they fit perfectly in this project.

And when it was done, I tied a zillion pieces of ribbon to the ring that binds it all together. You know - all those tails you have left over after you make a bow or decorate a card.

I also put front and back covers made from card stock, to protect the photos a little more - plus it gives me two more surfaces to decorate!

Here are a few more photos of her scrapbook...

Here's Nixie with her grandson.


And here's another of her grandson by himself. He was definitely looking up at something, so I added a bee to the page for him to look at.


And these are the fronts of the four inserts for the "pages". There are four additional photos on the other sides, as well.


It's a fun little scrapbook to make and fill.

Would YOU like to make one? Give me a call and let's set up a private lesson for you! It takes about 2 hours to make, without the photos...

=====

Hey, don't forget about Sale-A-Bration (SAB) ! It lasts a little longer this year, but before we can blink an eye, the end of March will be here and SAB will be gone for another year!

So, let me know what you'd like to order! I generally have an order to input each week, and would be happy to add yours. And, if you live in San Diego county, I even deliver!

Or, you can go to my website and place the order yourself and have it shipped directly to your home.

Whichever way you choose, be sure to get your catalog out and get that $50 order together so you can get FREE STAMPS!

Thanks for stopping by...

Monday, February 14, 2011

Those Kidz Again!


Anyone remember this?

It's a book I made using My Digital Studio (MDS) showing The Kidz when they were tiny babies. Weren't they cute??? (not that I'm the least bit prejudiced - hee hee)

Well, this is one PAGE of the book I made...

Stampin' Up! has released a whole catalog of the images that are available for download for use with MDS, and as I looked at the catalog (and realized how many of them I DON'T have), I was inspired to use MDS again.

I do a family calendar each year for my brother and two nephews (and families). And of course, I keep one for myself!

This year, in addition to the hand-made calendars I'll send them, I'm playing around with the new 6-1/2 x 5-1/2 size of calendar that was just released - and I'm LOVIN' how EASY it is to use this product!

I already knew that, but playing with it again reinforced that.

You can use the .jpg images in ANY software that will accommodate .jpgs. But MDS is SO EASY to use, and so inexpensive ($79.95), why wouldn't you just purchase this product and then add the newer images as you can afford to?

And the downloads are very inexpensive! They range anywhere from $.95 (!) to around $9.95, depending upon how many images are contained within the download.

The software comes with a TON of images, so if you never wanted to add to it, you'd be good to go for a long time.

The book for The Kidz used some of the images that were already set up.

All I had to do was drag and drop the photos into the picture boxes, add some journaling, and I was done!

But of course, I couldn't stop there. I added some additional images, which are included in the program for which we DON'T EVEN HAVE STAMPS!

How's THAT for a deal? Pretty hot, is what I'd say!

Here's another page from their book:

I started with square boxes for all the photos and was able to make some of them circles with the click of a button! On this page, I also added the background paper, many of which are contained in the original software, others which are available to be downloaded.


And we mustn't forget Ms. Velvet... This page is from a book I started playing with, but which I've never sent off to be made up. One of these days, I will though!

If you're interested in My Digital Studio, be sure to check out the website that has been set up strictly for you and MDS! You can post questions, photos, projects - whatever you'd like there.

And for those of you who use MACs - it works REALLY well on them, too (I'm a MAC person, so that was a REALLY important feature to me).

http://mydigitalstudio.net/

And when you're ready to purchase it, please go to my website to do so!

http://www.samslimak.stampinup.net

Remember to select me as your demonstrator to get preferred pricing!

Saturday, February 12, 2011

Resist(ance) is Futile

Today was our monthly Stamp Club meeting. These ladies come to my Stampin' Garage on a monthly basis to PLAY!

They've become friends through stamping, which I think is awesome!

I generally try to teach them a technique each month, and then encourage them to take the technique and turn it into a full card. They have access to all my stamps, inks, and papers the the Stampin' Garage.

The technique I taught this month is called Emboss Resist.

Pretty simple technique to do.

Basically: Stamp w/Versamark, emboss with clear embossing powder.


And then use a sponge to rub ink OVER the embossed image.


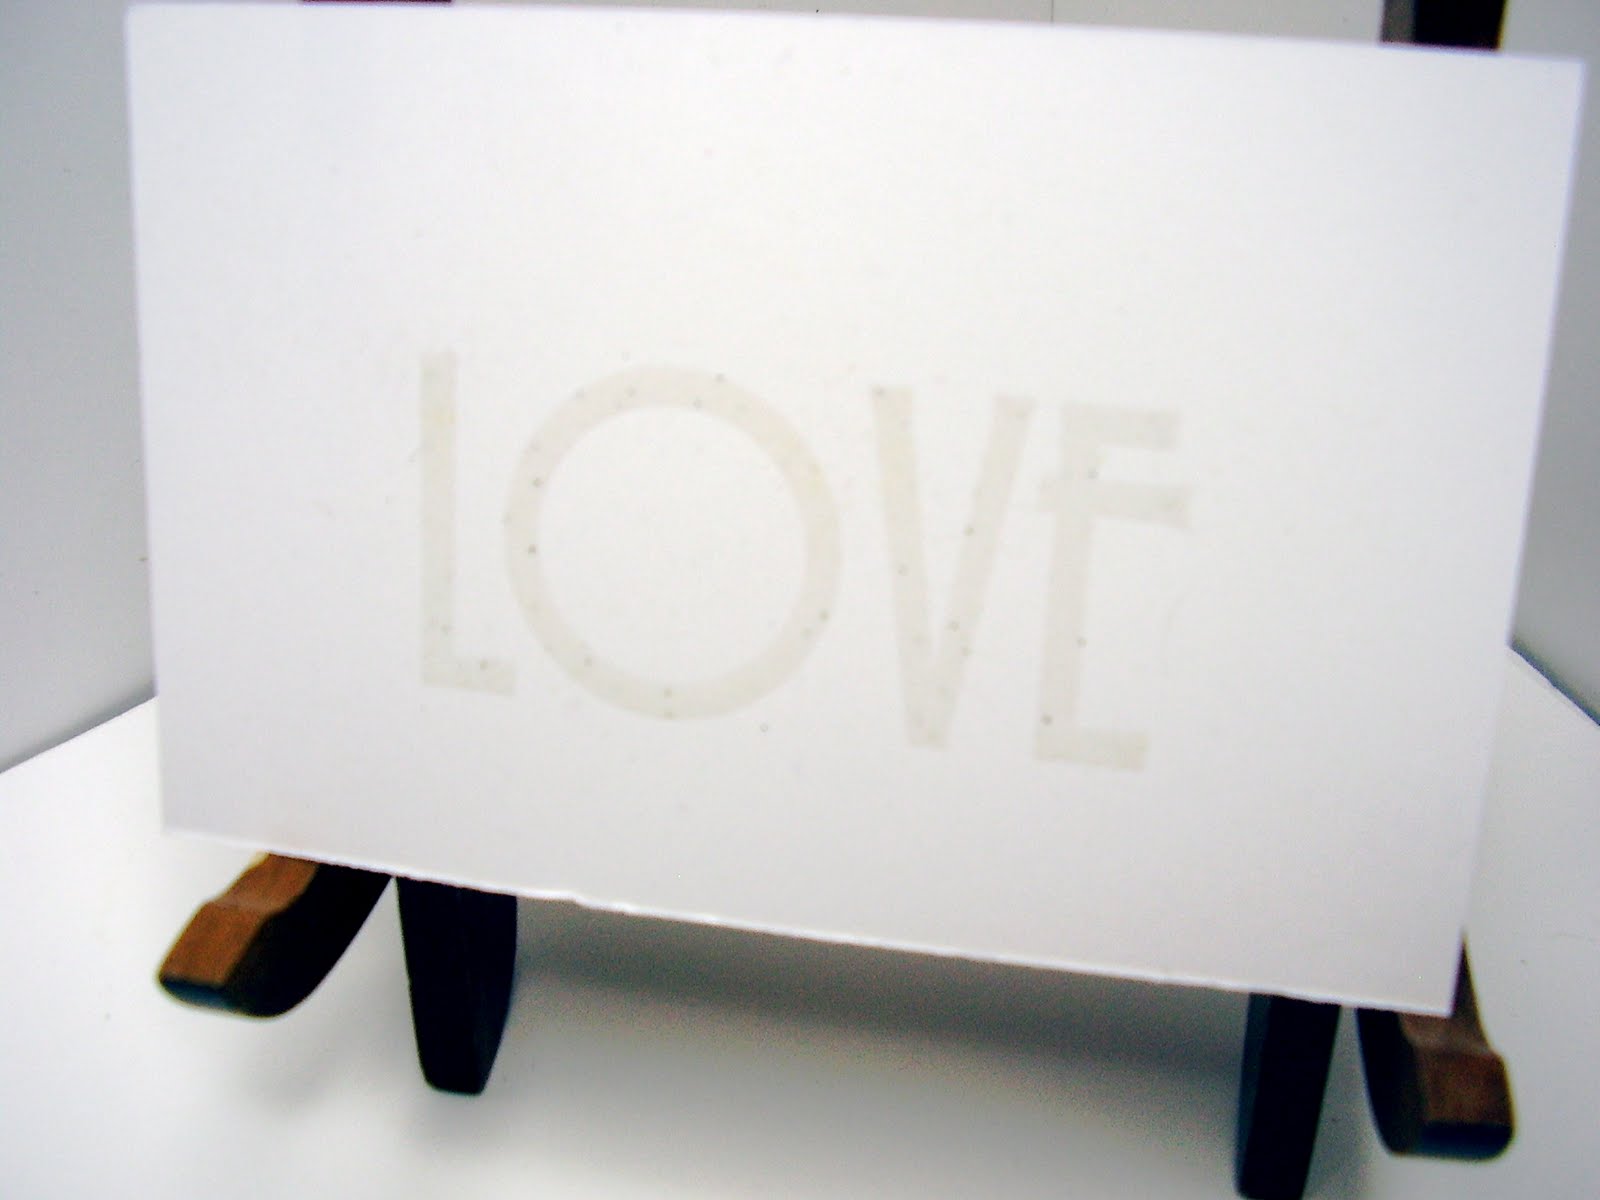
The ink will stick where there is no embossing, and the embossed portion will continue to show the original card stock color through it. I used Real Red to sponge this version of the "Love" stamp.

Darker colors tend to show off the embossed image better.

This one was made by embossing the Medallion stamp, sponging it with Rich Razzleberry Ink.

Then I dug around and found some old DSP that matched it pretty well, and added a 1/4" Rich Razzleberry taffeta ribbon to cover where the two papers meet.

I stamped the "Just for You" from the Level 1 Hostess set from the big catalog, "Afterthoughts" .

There's actually more on the "just for you" stamp, but I chose to just use those words for this card. The rest says "...so you don't have to share".

Oh - and did you see them? Those awesome pearls - AGAIN?!!?

Go ahead, scroll back up and try to find them. I'll wait...

This technique works best with more solid images, but I also played around with one of the background stamps:

This one is Bella Toile, sponged with Pacific Point.

And here's my version of the card that let me down this emboss resist path this week. I copied it from Kimberly van Diepen's blog (thanks, Kimberly! Love your style).


Lots of soft colors here. I used Baja Breeze and Ivory CS, and sponged with both Baja Breeze and Soft Suede.

And of course, added the Crumb Cake seam binding.

I gotta tell ya - I just LOVE that seam binding - it's so thin, soft, and pliable and doesn't create huge knots when you use it on a card. And now we carry it in 7 different colors!

Hope you had a beautiful day! It certainly was here - like 75 degrees with lots of sun. It felt great to open up the house and air it all out!

Thanks for stopping by. Come back!

Thursday, February 10, 2011

Trinkets from the Heart

This was one of the displays we got the opportunity to see while we were at Leadership in Nashville last month.

Isn't it pretty?!!?

It's made up entirely of trinkets from the Occasions mini-catalog, which is in effect from NOW until April 30, 2011.

NOW is also Sale-A-Bration (SAB) - and when you make a $50 purchase (before shipping/handling and tax) NOW - you get to choose an item from the SAB mini-catalog!

LOTS to choose from, too - from stamps, to ribbons and buttons, to adhesive backed die cuts - even a DVD with images from SAB on them so you can use it with your My Digital Studio! Or, these images can be used with any other product that allows the use of .jpg files, should you have some.

The trinkets used in the heart are all located on page 24 of the Occasions mini. They include crowns, keys, and baubles in 4 colors.

And besides looking awesome in this heart shaped display, they're perfect for adding to jewelry you might have, or used with our Simply Adorned line of jewelry products (bracelets, necklaces, charms for each), as well.

This display was made by a Stampin' Up! employee - I don't know which one, but I think it's very cleverly done, don't you?

How can I help you with your stamping needs? Give me a call and let me know!

Thanks for stopping by...

Wednesday, February 9, 2011

Ain't She Sweet?

This little girl (I'm on a little girl kick these days, aren't I?) is from "Greeting Card Kids".

Besides the Valentine image, there are also Christmas, Halloween, and back to school images - all with this Betty Boop type girl.

Ain't she sweet?


She was stamped on watercolor paper with Staz-On ink, so that I could color her outfit using the Watercolor Crayons.

I goofed and stamped her too close to the edge to get a full circle, using the 2-3/8 circle punch.

So... I just mounted her flush to the left side and it looks like I did it on purpose! Think about these types of "fixes" when something like that happens to you.

I've heard and seen a lot of you just pitch an image, already CLOSE to being "done", but which isn't perfect for the project you're currently working on.

Fix yourself a little box or area for all these things. Call it whatever you want - scraps (but they're not truly scraps, are they?), or Found Objects, or Leftovers, or whatever works for you. And then, every once in a while, go thru it and see what you can salvage for your current project.

Here's another card I made with the same little girl.


This time I used the 5 petal punch and the large scallop punch. I also used the Springtime Vintage DSP on both cards, as well as seam binding.

Notice I used opposite colors for CS and seam binding - was playing around to see if they really worked either way, and they DO - because they match the colors used in the DSP.

I've taken to writing the colors of CS used in the DSPs on the front cover of the DSP package with a Sharpie.

This saves me from having to run to the catalog each time to assure myself of the colors that were used.

This will also help long term, because I generally keep my DSPs after they've been discontinued - and now I don't have to try to find the catalog or mini that contained the DSP to look this up!

Notice I ruffled the seam binding on both cards. It's SO EASY to do that!

Just run a strip of Sticky Strip where you want the ruffle to be, and start sticking the ribbon down every 1/8" or so, remembering to pull some up to create the ruffle.

This works great, because if you get it uneven, it's easy to pull it off the sticky strip and rework it.

And I love the ruffles. I think I like the green seam binding ruffle better than the red one. It's a little more casual. The red one is pretty rigid looking.

Thanks for stopping by - come back again soon!